
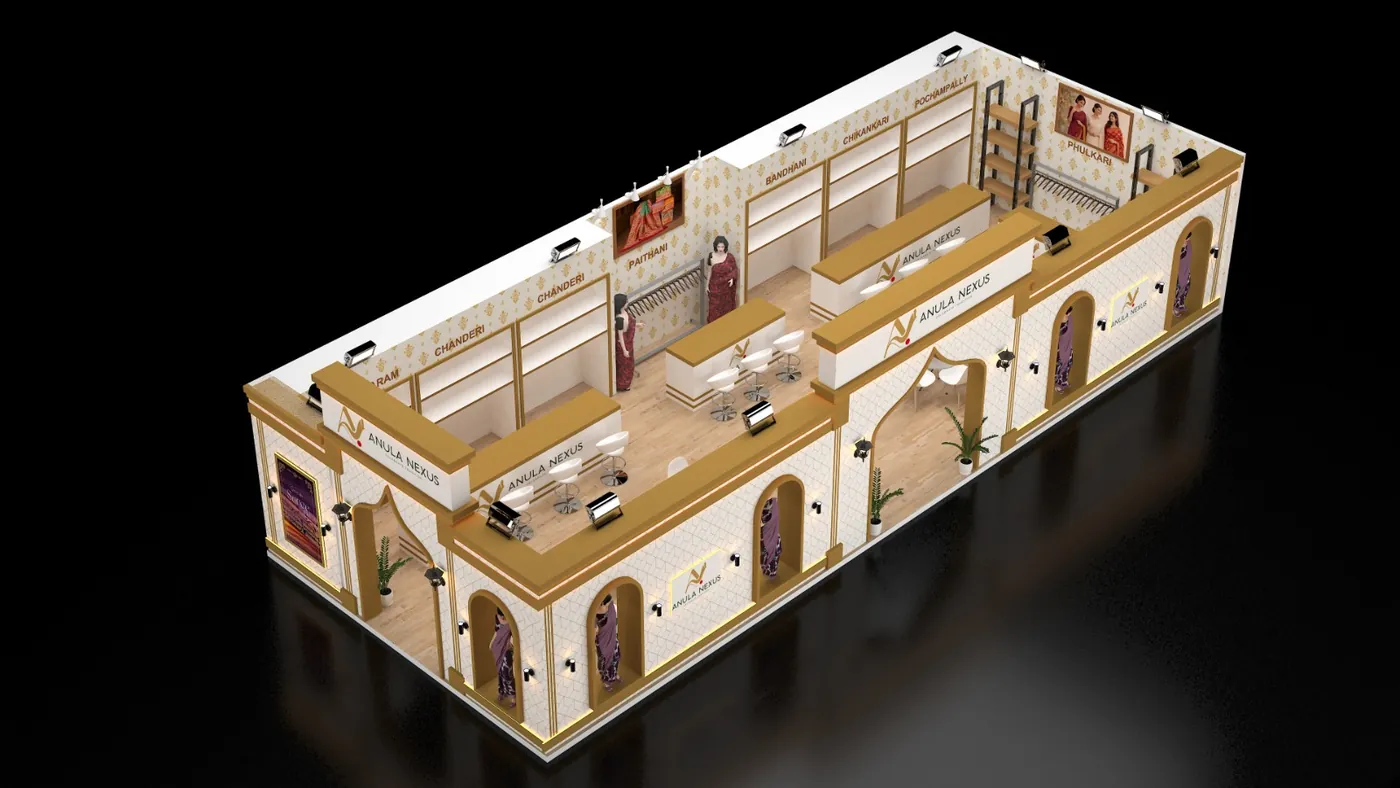
1. Brief and measurements
Start with the footprint, open sides, event information, brand requirements and functional needs.
2. Spatial planning
Arrange visitor circulation, reception, product display, meeting zones and storage within the available footprint.
3. Visual direction
Choose a design language, material direction, graphics hierarchy and lighting approach that support the brand.
4. 3D visualization
Translate the layout into a visual concept so the proposed environment can be reviewed before fabrication.
5. Production planning
After approval, the design needs to be translated into buildable details, graphics and production requirements.
6. Installation
The final stage coordinates delivery, venue access, assembly, finishing and dismantling around the event schedule.
1. Understand the brief
2. Translate goals into zones
3. Create the visual hierarchy
4. Develop the 3D concept
5. Review and refine
6. Prepare for fabrication
The strongest workflow keeps the business objective, visual design and practical delivery connected throughout the project.
A professional exhibition stand usually starts with a structured brief rather than a finished drawing. The purpose of the process is to turn event requirements, brand identity and visitor needs into a spatial concept that can be reviewed before fabrication.
1. Understand the brief
Start with booth size, open sides, exhibition name, city, dates, target audience and business goals. Then add functional needs such as reception, product display, demonstrations, meeting rooms, storage, seating and AV.
2. Translate goals into zones
The stand is divided into practical areas. A visitor-facing front zone may carry the clearest brand message. Product or demonstration areas can occupy more interactive positions. Meeting and storage spaces can be arranged so they support the team without consuming unnecessary visitor-facing area.
3. Create the visual hierarchy
Branding should be readable from useful viewpoints. This is where headline placement, logo scale, feature walls, lighting and product focal points become important. The objective is not to fill every wall; it is to make the important information easy to find.
4. Develop the 3D concept
3D visualisation helps stakeholders judge the booth as a real environment. It provides a common reference for marketing, sales, management and production teams. It can reveal cramped circulation, weak sight lines or an over-dominant meeting area before anything is fabricated.
5. Review and refine
Review the concept against the original brief. Check circulation, meeting capacity, display density, storage, signage and the overall brand impression. This is also a good stage to confirm whether the visual direction fits venue restrictions or organiser requirements already known.
6. Prepare for fabrication
Once the direction is approved, production planning can translate the design into buildable components, graphics, furniture, lighting and an installation sequence.
Common review questions
- Can the brand be recognised quickly from the aisle?
- Is the entrance inviting rather than blocked?
- Can staff serve visitors without crossing the main circulation path?
- Are product displays easy to browse and understand?
- Is there enough storage for operational needs?
- Do meeting spaces provide the required level of privacy?
The strongest workflow keeps the business objective, visual design and practical delivery connected throughout the project.